Hello Beauty Junkies!
I decided to switch it up with this months entry and do a tutorial on glitter handled makeup brushes! I love crafting and turning alright things into AMAZING things. As you might know, I am a licenced esthetician and in school we got a pretty decent sized makeup brush kit. The brushes are of decent quality, but over time the paint on the handles began to peel exposing the rough wood underneath. I decided it was a great opportunity to add glitter with the amazing substance known as ModPodge! If you are a crafter, you know ModPodge does pretty much anything!

You could do this project on any makeup brushes, however I feel the rough wood will allow the ModPodge to adhere the best. Keep in mind if you are doing this project on metal or plastic handles, it might peel off quickly because the surface is slick. I would sand the surface of the handles to rough them up a bit and give the ModPodge some texture to stick to.

You could do this project on any makeup brushes, however I feel the rough wood will allow the ModPodge to adhere the best. Keep in mind if you are doing this project on metal or plastic handles, it might peel off quickly because the surface is slick. I would sand the surface of the handles to rough them up a bit and give the ModPodge some texture to stick to.
 Things You Need:
*Makeup brushes
*ModPodge
*Glitter
*Paint Brushes
*ModPodge Clear Acrylic Spray Sealer
*Sheets of paper for sprinkling glitter (if doing different colors you will need a sheet of paper for each color)
*Scotch Tape
*Course Nail File
*Plastic baggies (or plastic wrap, anything you can tape around the bristles to protect them from the sealer)
*Scissors
*Wax paper - I should have used this on my drying station instead of newspaper and paper towels
*For my work area, I used a cookie sheet with a few layers of paper towels to protect it. The edge around the cookie pan gave me a place to prop them up while they dry and it makes them easy to move if you need to move them. *
Step One: If the paint on your brush handles peeled like mine, make sure all the paint is off. Mine was pretty easy to remove and for the stubborn ones I soaked the handle in water and rubbing alcohol. If you did need to soak your brush handles, make sure they are completely dry before you start. If you are painting over a plastic or metal handle, rough up your handle with some sand paper and go on to step 2.

Step 2: Use the scotch tape to tape off where the handle ends.
 Step 3: Paint the handle of the brush with ModPodge and try to distribute it as evenly as possible. Avoid using a thick coat.
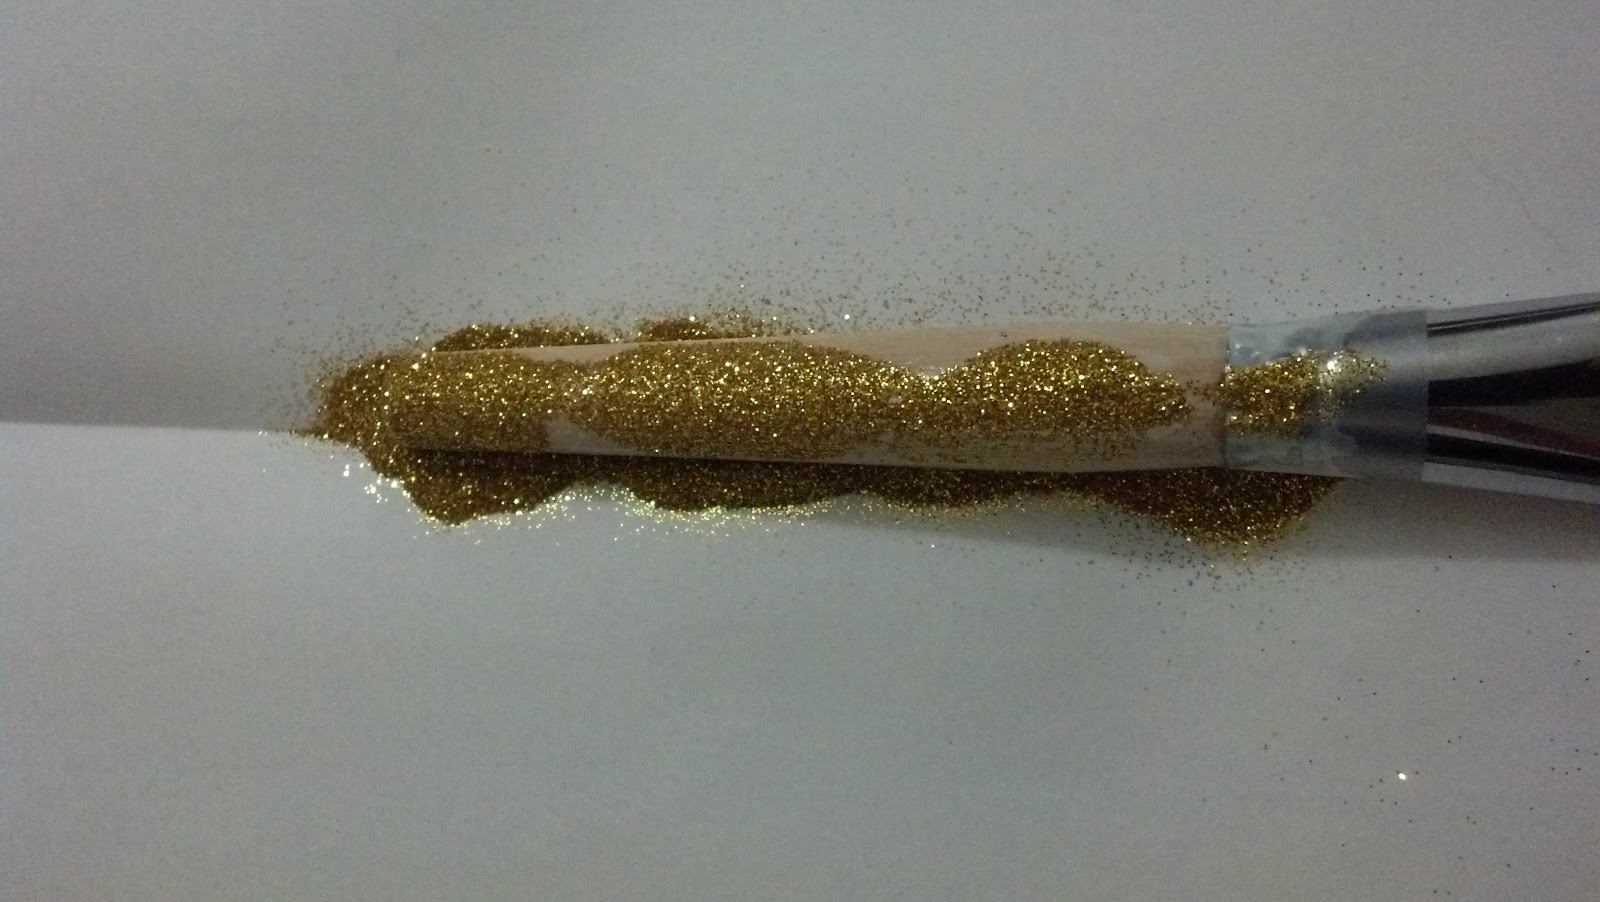
Lay it propped on something to dry.

Step 5: After that layer has dried look for any spots that have thin glitter/no glitter. Dab on thin layer of ModPodge and repeat Step 4.
*If you happen to drip ModPodge on the bristles of your makeup brush, don't worry. It will wash out with soap and water. *

Step 6: Cover the glitter layer with a layer of just ModPodge. It will look white, but will dry clear.
Step 7: Let it dry for awhile. You are going to file off any bumps or rough spots and you need the ModPodge to be very dry.
Step 8: Feel the handles for rough spots and bumps. File them off with the course nail file.
Step 9: Paint with another layer of ModPodge and let dry. Feel the handle in between coats to see if it is smooth enough for you. Because glitter is rough, it might take a few coats of ModPodge for it to feel smooth and not grainy. I used about 3-4
Step 10: Remove scotch tape.
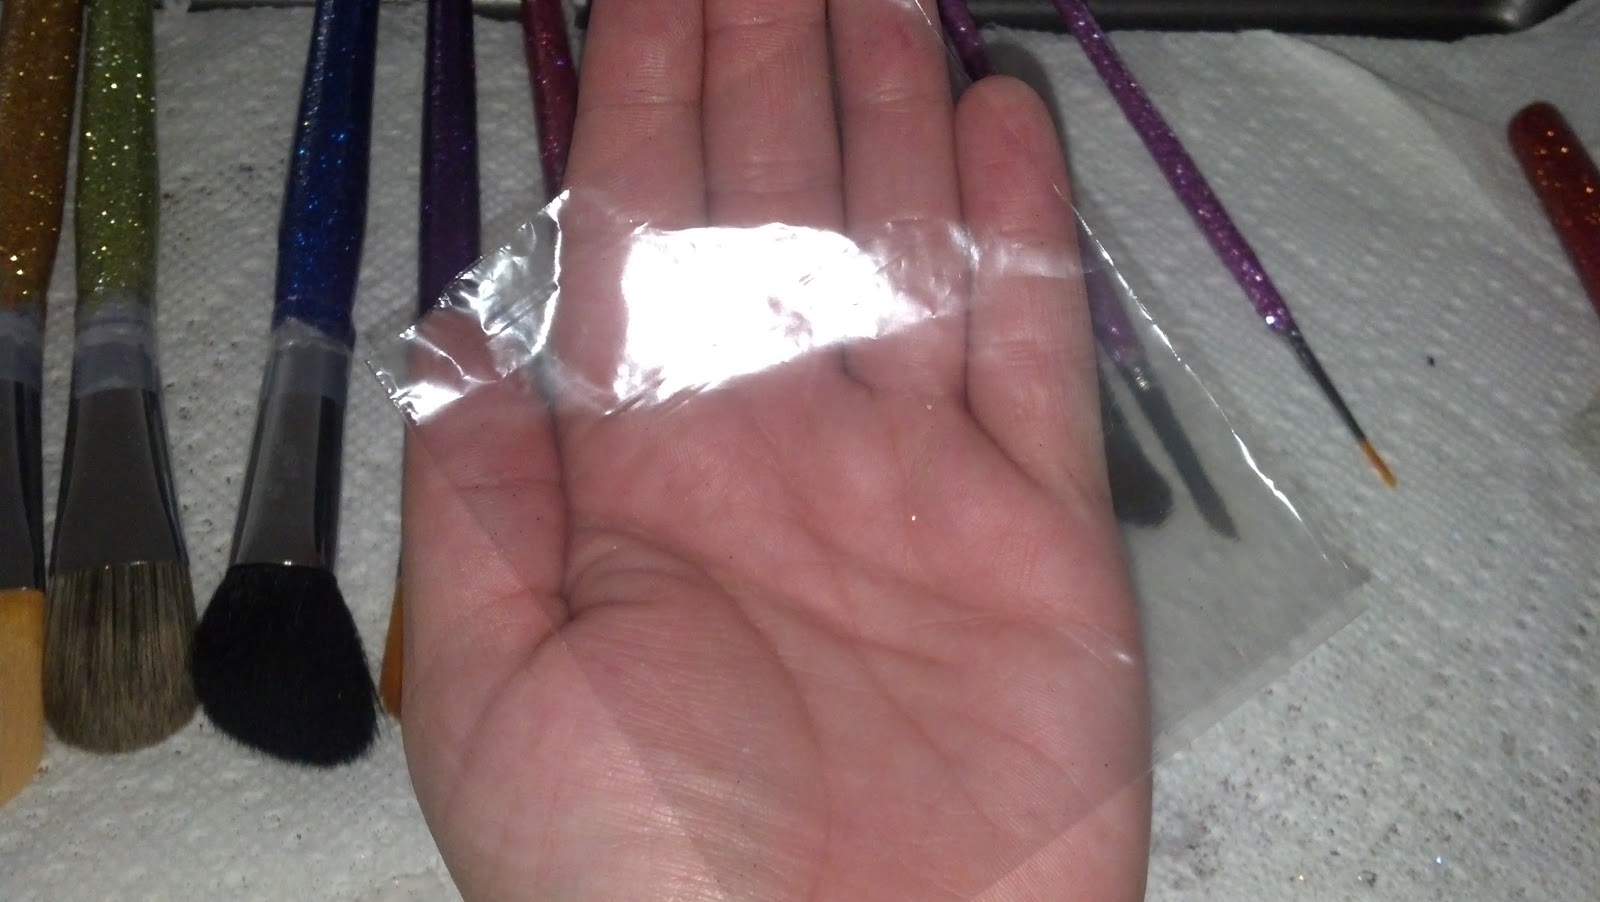
Step 11: Cut plastic baggies into sections that will be big enough to cover the bristles on your brush.

Step 12: Cover the bristles with the plastic bag pieces and tape them down so there's no openings at all.
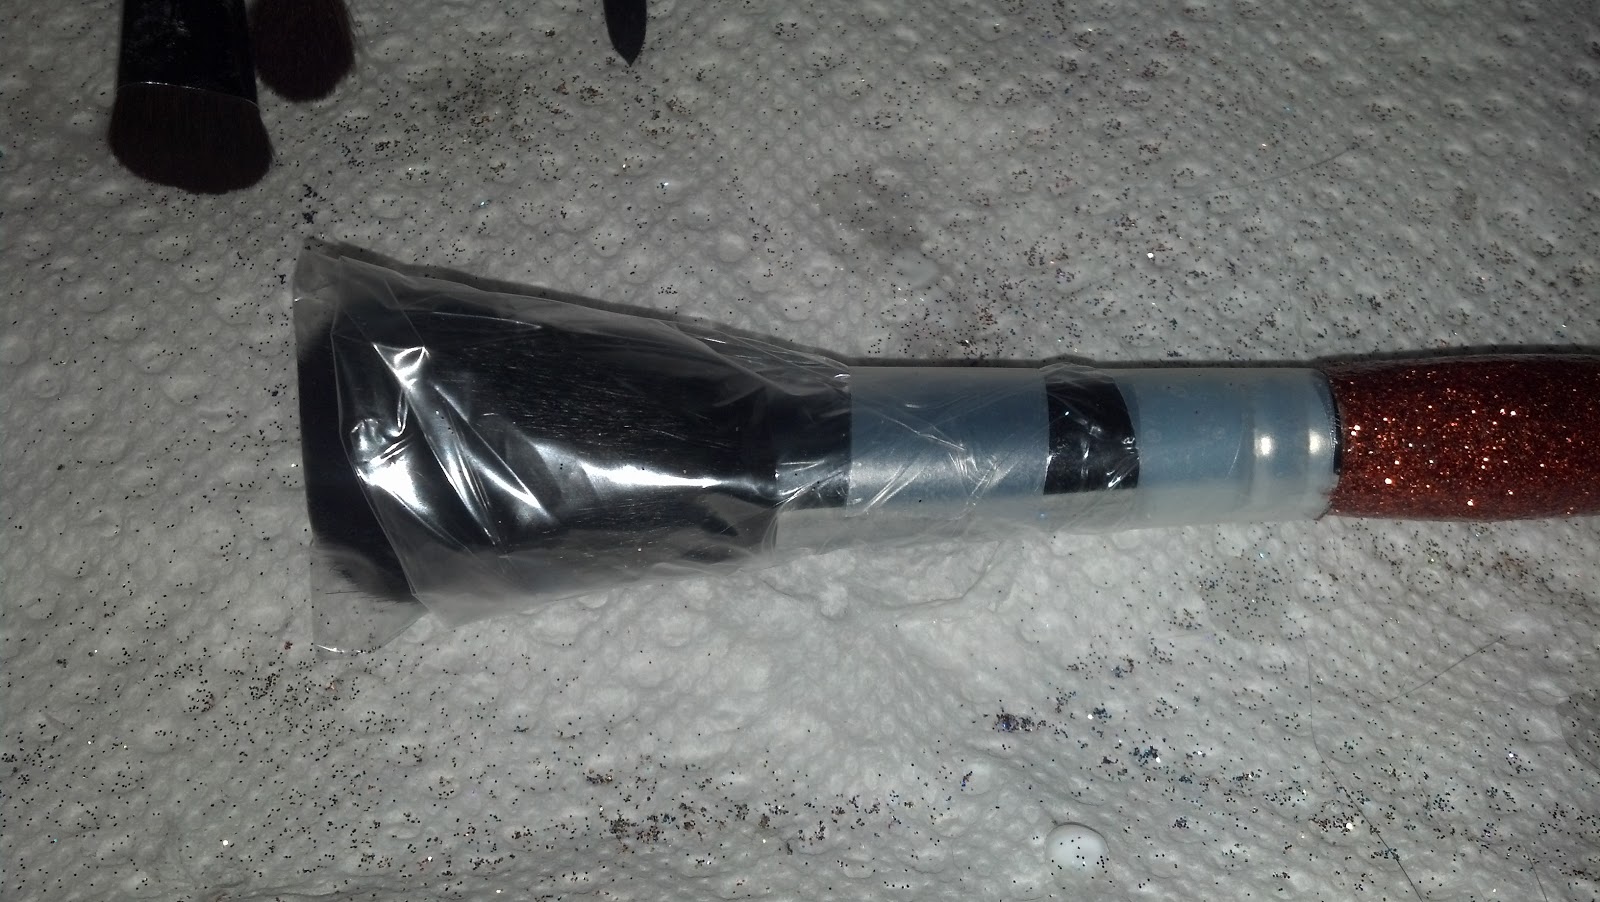
Step 13: In a well ventilated area, spray the
handles with the ModPodge spray sealer and let dry for about 15 minutes. The sealer prevents the ModPodge from being tacky. I suggest letting them dry for longer than 15 minutes because if they touch while they are even remotely tacky, they will stick to each other.
I sprayed them in my garage with newspaper underneath and had them spaced apart. You don't want the handles touching because they will stick to each other. I wish I had tried using wax paper because some of the wet sealer made the newspaper stick to my brushes and I couldn't get it off.
Step 14: After the sealer has dried, remove tape and plastic from the bristle end. Enjoy your sparkly brushes!
*WASHING THESE BRUSHES*
If you must soak them, only add enough water to cover the bristles. The water should NOT go above the metal. This will make your glitter last as long as possible and it's better for the glue that holds the bristles together.
I loved this project! You can glitter pretty much ANYTHING with this ModPodge process. There are some awesome tutorials on Pinterest on how to glitter thrift shop shoes, candle holders, mason jars, ect. You can also give glass a tint by coloring your ModPodge with food coloring!
ATTENTION!: If glittering or ModPodging something that food or drink will be consumed from, do your research. I do not think Mod Podge is food safe! There are several tutorials on glittering the outside of wine glasses that use Krylon Clear Coat as a sealer. I'm not sure this is food safe and even though you're glittering the outside, I would assume some of the clear coat gets on the inside when you spray it on, so once again:
If you are glittering something that will be eaten from or drank from DO YOUR RESEARCH!
Also, keep in mind that sitting water may damage the Mod Podge. So if you want to glitter something like a Mason jar or vase and you plan on putting flowers in it, glitter the outside instead of the inside.
All in all, this project was very fun and I see many sparkly things in my future! Instead of glitter, you can also ModPodge fabric and paper to things!
Stay tuned for my next post on curly hair... many girls have beautiful curly hair and yet they spend every morning heat styling and damaging it. I will tell you about what products have helped me embrace my curls while making my hair more healthy from less heat styling. Until next time....
Peace, Love, Light
Congratulation for the great post. Those who come to read your Information will find lots of helpful and informative tips. Protect Your Paint Rollers
ReplyDelete